As the days shorten and the air takes on a crisp quality, there’s no denying that autumn is upon us. With this seasonal change comes a vivid tapestry of fall foliage that paints our landscapes with warm hues. Creating a fall leaf garland is a delightful way to bring the essence of autumn indoors, where its colors and textures can be admired up close. In this guide, we’ll embark on a journey to collect and prepare the perfect array of leaves, exploring the types that best capture the spirit of the season and learning about preservation techniques to keep them vibrant. Additionally, we’ll delve into the creative process of assembling a garland, where thread and twine become the tools to bring our autumn tableau to life. So grab your favorite sweater and join me in harnessing the beauty of fall for a piece of decor that will transform your space into an autumnal retreat.

Collecting and Preparing Leaves
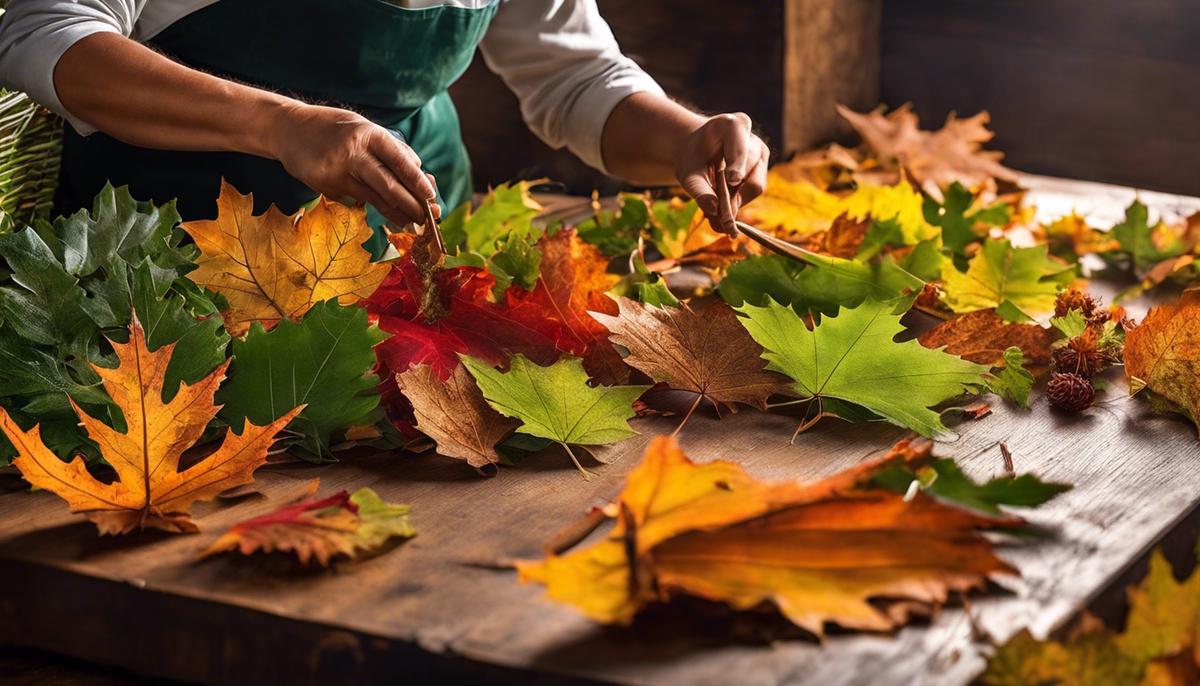
Gathering Suitable Leaves for Your Garland
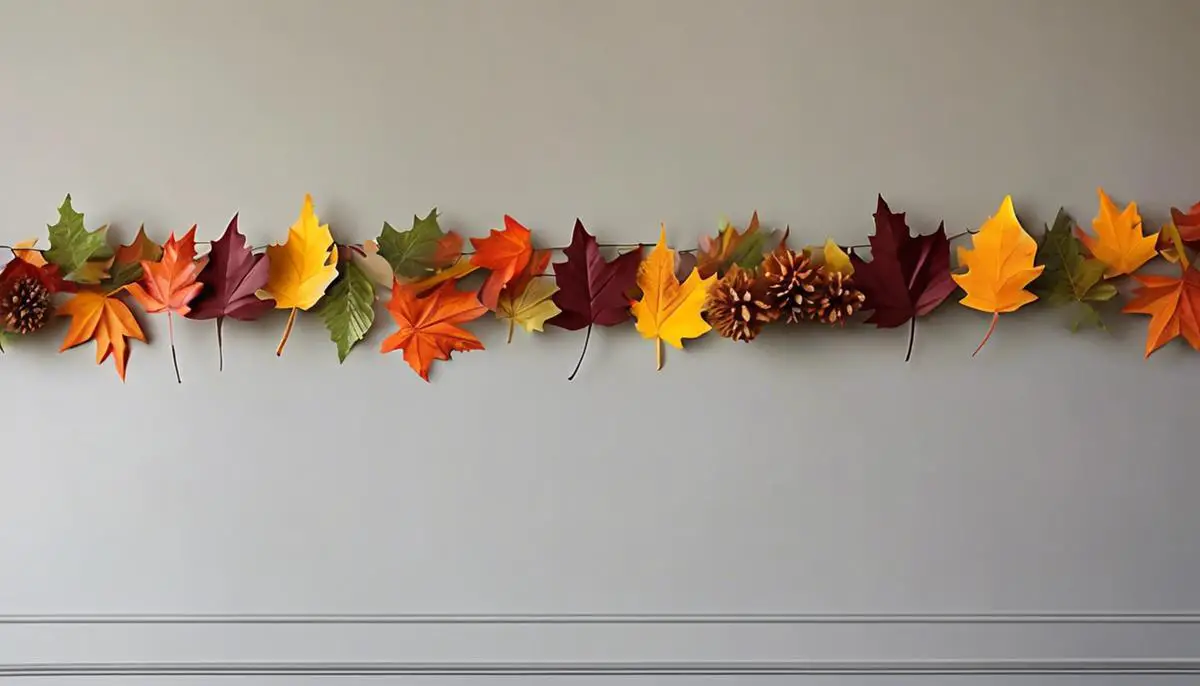
To create an enchanting fall garland, start by scouting for the best leaves that embody the spirit of autumn. Look for leaves with rich, vibrant hues such as deep reds, warm oranges, bright yellows, and earthy browns. Maple, oak, sweet gum, birch, and beech leaves are excellent choices due to their distinct shapes and sturdy structures which hold up well in decorations. When selecting leaves, ensure they are free from spots, holes, and blemishes for a more aesthetically pleasing garland. The ideal time for collection is shortly after leaves have fallen when they are still supple and retain most of their color.
Preserving Leaves Through Pressing
Pressing leaves is a simple preservation method that helps maintain their color and shape. Start by choosing the most vibrant and least blemished leaves you collected. Next, place the leaves between two layers of absorbent paper, such as newspaper or blotting paper. You can also use flat coffee filters for this purpose. Ensure that the leaves are flat and their edges aren’t overlapping. Place the sandwiched leaves within the pages of a heavy book or under a weighty object. To avoid mold, periodically change the absorbent layers until the leaves feel crisp and completely dry, which typically takes about one to two weeks. Once dried, they’ll be less brittle and easier to work with for crafting your garland.
Drying Leaves to Preserve Them
If you prefer a method that maintains more of the leaf’s original body and curvature, drying is the method for you. To dry your gathered leaves, you can use a microwave, an oven, or simple air drying. For the microwave method, sandwich your leaves between two ceramic tiles held together with rubber bands and microwave them in short intervals until they are dried, which usually takes a few minutes. Oven drying involves setting leaves on a baking sheet and placing them in a low-temperature oven (around 200 degrees Fahrenheit or 93 degrees Celsius) for a couple of hours, checking periodically. Lastly, air drying is the most natural method; simply string the leaves up in a dry, warm place away from direct sunlight, which could fade their colors. Whichever method you utilize, the leaves should become dry without losing their autumnal hues.

Final Touches for Your Leaf Garland
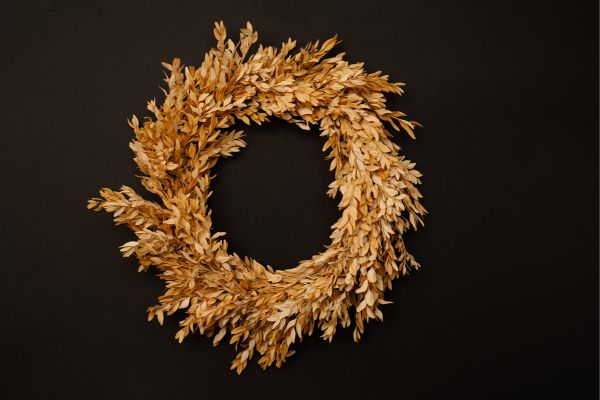
Once your leaves are preserved, you can begin assembling your garland. You will need a base such as a string or clear fishing line. Start by tying or gluing the leaves to the base at regular intervals, alternating the types and colors for visual interest. You can also add elements like pine cones, acorns, or small branches to enhance the natural look. Make sure to handle your leaves gently to avoid crumbling them, and hang your finished garland in a place where it can be admired throughout the season. With the correct preservation method and a touch of creativity, your fall leaf garland will be a stunning tribute to the beauty of autumn.
Garland Assembly Techniques
Select the Right Leaves
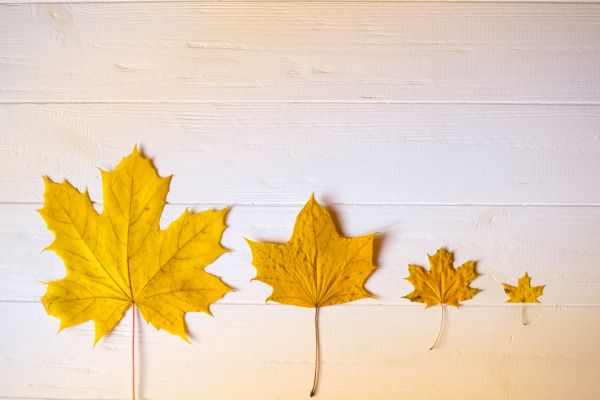
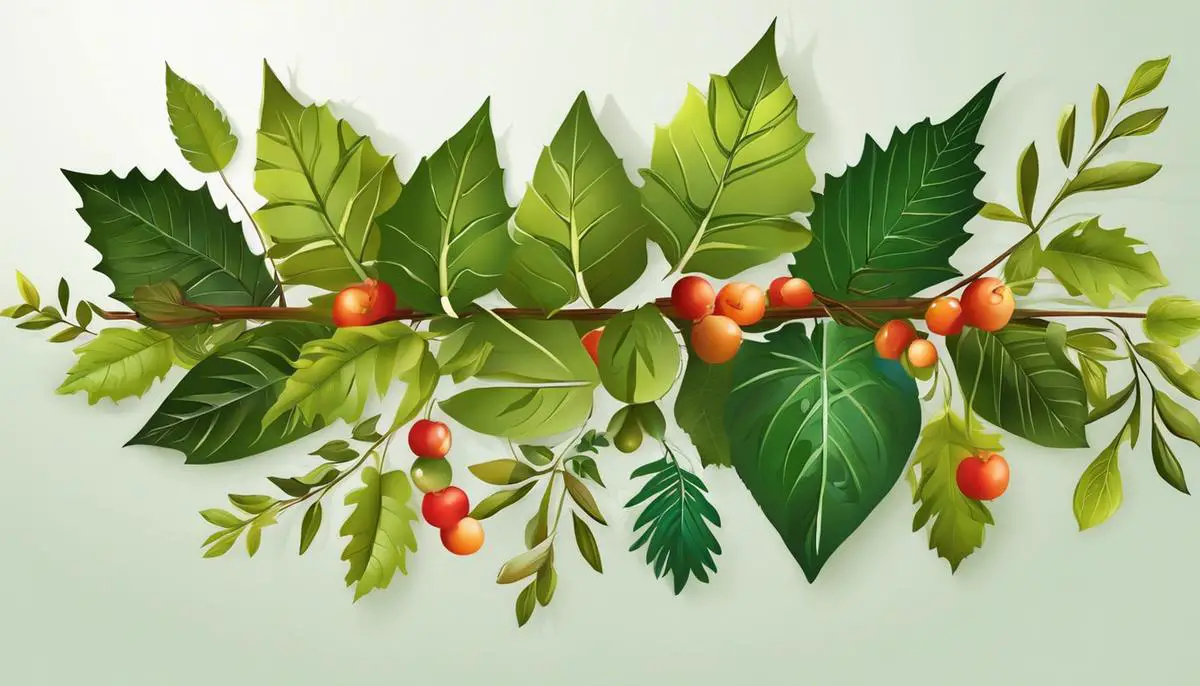
Choose fresh, pliable leaves that are not too dry or brittle, as they are less likely to tear when pierced or sewn. Various types of leaves can provide a range of colors and textures; maple, oak, and beech leaves are great choices for a fall leaf garland. Larger leaves will make for a fuller garland but will require more support.
Gather Materials
- Fresh leaves
- Clear thread, fishing line, twine, or ribbon
- A large needle or sewing machine (if available)
- Scissors
- Optional: Beads or other decorative items
Using Thread or Fishing Line
Cut a length of clear thread or fishing line to the desired length of your garland, plus extra for hanging. Tie a knot at one end of the string to prevent leaves from slipping off. Using a large needle, carefully pierce through the center or the base of the leaf, depending on the desired effect, and gently slide the leaf down to the knot. Space the leaves evenly and continue stringing them until you reach the end. Secure the final leaf with a knot, leaving enough slack to hang the garland.
Creating a Twine Garland
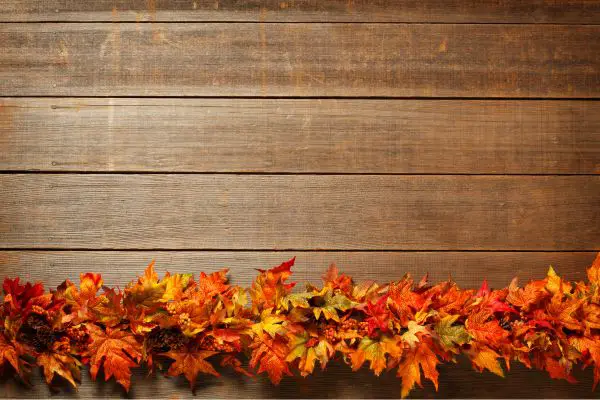
If using twine, the process is similar to using thread. Twine gives a rustic look and is stronger for heavier leaves. Begin by cutting a piece of twine to your desired length, and make a loop at one end for hanging. String the leaves by piercing through the base with a needle, spacing them out as you wish. Knot the twine around the stem to secure each leaf if needed. Finish by creating another loop at the other end.
Using a Sewing Machine
For durability, use a sewing machine to create a continuous stitch along the leaves’ bases. Choose a straight or zig-zag stitch and adjust the tension appropriately for the thickness of the leaves. Guide the leaves one by one under the foot of the sewing machine, allowing for space between each leaf. This method creates a strong garland with the ease of machine sewing.
Adding Strength and Decoration
Periodically add beads or tie knots between the leaves for added decoration and to help distribute the weight more evenly. This not only enhances the overall look but also adds to the tensile strength of the garland.
Final Touches
Check the garland for any weak points and reinforce these areas with additional knots or stitches. Make sure each leaf is securely fastened and adjust any spacing as needed. Hang your garland in the desired location, ensuring it is displayed out of direct sunlight and away from moisture to avoid decay.
By considering the weight and type of leaves, choosing the right stringing material, and employing proper techniques for assembly, you can create an enduring and beautiful fall leaf garland that will bring the essence of the season into your home.
Decorating and Adding Accents
Choose Appropriate Extras
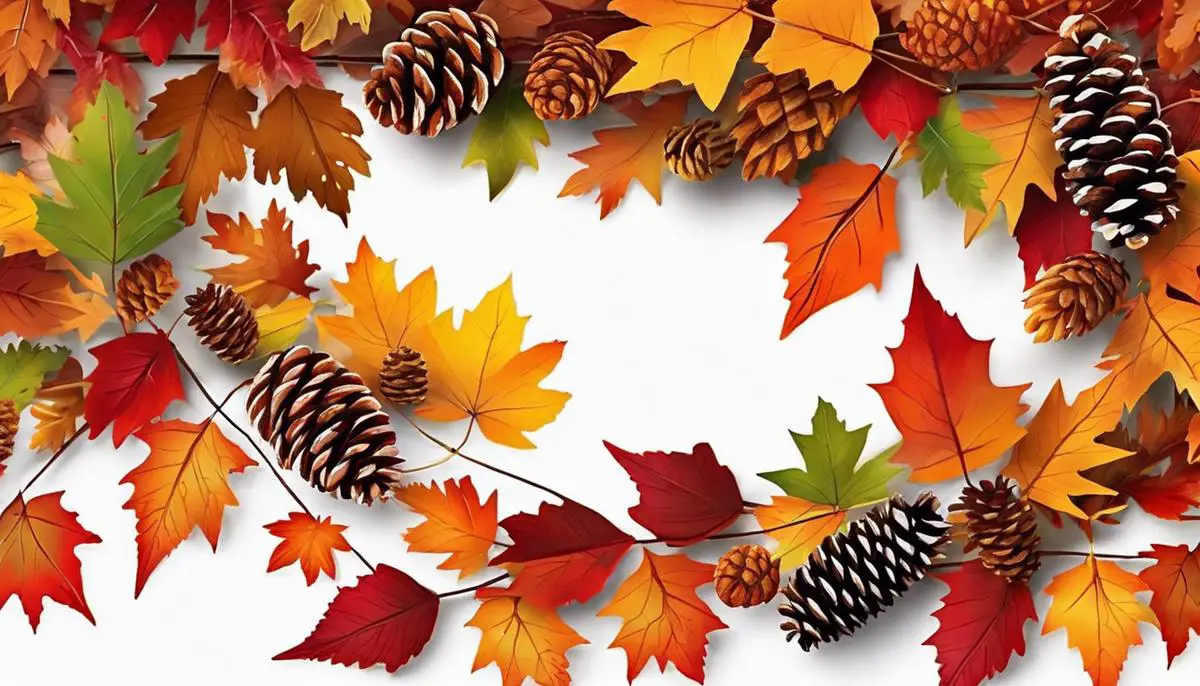
When elevating the visual appeal of your fall leaf garland, consider incorporating extras that are cohesive with the autumn theme. Faux berries, in hues of red and burgundy, add a pop of color and texture. Small pumpkins, both in traditional orange and in less expected white or gold, provide a sense of harvest bounty. Ribbons, either in satin or a rustic burlap, can introduce a sense of movement and grace. Opt for colors and materials that complement the leaves, such as deep greens, vibrant oranges, or warm golds.
Strategically Place Faux Berries
Intersperse clusters of faux berries at various points along the garland. Aim to distribute them evenly to maintain visual balance. You can wire the berries onto the garland or use hot glue to secure them in place. Pay attention to how they look from different angles, ensuring that the garland is appealing from all sides, especially if it will be viewed from various points in a room.
Integrate Small Pumpkins
Small pumpkins can be nestled into the garland at intervals. If you’re using real mini pumpkins, consider attaching them with floral wire or inserting them into pockets created by the foliage. For faux pumpkins, they often come with a small stem that can be wrapped with wire and twisted onto the garland. Ensure the pumpkins are secure, especially if your garland will be hung up or draped over a mantel or banister.
Incorporate Ribbons
Ribbons can be used in two ways: woven through the garland or tied in bows at key focal points. When weaving, choose a ribbon that’s not too wide and gently loop it around the garland, allowing it to twist and curve naturally among the leaves. For bows, use a wider ribbon and tie them at intervals where you want to draw the eye—perhaps between berry clusters or adjacent to pumpkins. Vary the size of the bows and let the ends cascade down for an elegant effect.
Arrange Elements for Balance
As you add these extras, step back periodically to assess the garland’s overall appearance. Every addition should contribute to a balanced look, which means avoiding over-clustering in one area while leaving another sparse. Consider the rule of odds, which is visually pleasing; for example, group berries in clusters of three or five. Arrange elements in a way that seems natural and not overly symmetrical—nature, after all, is perfectly imperfect. This balance of extras against the leaves will enhance the festive nature of your garland and make it a captivating piece for the season.

Hanging and Displaying
Choosing the Right Location
Selecting an optimal location for your leaf garland is essential. Indoors, focus on areas where the garland will enhance the room without overwhelming it. Popular spots include mantles, stair banisters, door frames, and around mirrors or picture frames. For outdoor spaces, consider draping the garland over porch railings, around the front door, or on fence lines. Be mindful of any nearby elements that could damage the garland, such as sharp corners or surfaces that may be too hot or wet.
Using Non-Damaging Supports
When hanging your leaf garland, it’s important to use supports that won’t cause damage. Adhesive hooks are a great option as they can firmly hold the garland in place and can be easily removed without leaving marks. For a more traditional approach, opt for removable hooks or nails that are specifically designed for temporary decorations. If you’re hanging the garland in a location where hooks aren’t ideal, consider using clear fishing line, floral wire, or ribbon to secure the garland gently around banisters or columns.
Outdoor Versus Indoor Presentation Tips
For outdoor presentation, weatherproof your leaf garland to protect it against elements like wind and rain. Use UV-resistant materials if possible and secure the garland tightly to prevent it from being blown away. Weigh the ends down with heavier decorations if needed. Also, choose a shaded spot to prevent the colors from fading quickly in direct sunlight.
Indoors, integrate the leaf garland with existing decor for a seamless look. Use smaller sections of garlands to accentuate specific areas rather than one long piece that could clutter the space. Consider the flow of the room and hang the garland in a way that complements its design.
Longevity and Maintenance
To ensure that your leaf garland retains its aesthetic appeal, occasionally dust it if it’s indoor or gently hose it down if it’s placed outside. Rotate outdoor garlands to different positions to distribute exposure and prevent certain areas from fading faster. For battery-operated garlands with lights, regularly check the power supply and replace batteries before they are completely drained to maintain a consistent glow.
Embracing the full circle of crafting a fall leaf garland, we’ve ventured through an array of vibrant leaves, learned the art of preservation, and mastered the assembly of a robust and picturesque decoration. Our homes are now adorned with a symbol of fall’s fleeting beauty, a reminder of nature’s cycle and the warmth it brings to our hearts. As you gaze upon your handcrafted garland, may it inspire in you a sense of connection to the season and ignite a passion for creating more beauty with your own hands. Let your festive garland not only be a decoration but a storyteller of the autumn days, filled with family, friends, and the simple pleasures that the season bestows upon us.


Leave a Reply