As the vibrant hues of summer yield to the rich tones of autumn, it seems only natural to let our homes reflect the changing season. One of the most charming ways to do so is through the creation and display of a fall wreath, a timeless symbol of welcome and warmth. A well-crafted fall wreath not only elevates the visual appeal of your space but also stirs the emotions, evoking cozy memories and the spirit of Thanksgiving. Whether you are seeking design inspiration, curious about essential materials and supplies, eager to learn the crafting process, or interested in tips for presenting your masterpiece, this guide aims to springboard your creativity and fuel your excitement for this fall festive project.
Fall Wreath Design Inspiration
Exploring Different Designs, Themes, and Styles of Fall Wreaths
The search for the perfect fall wreath design starts with exploring a variety of themes and styles. Consider wreaths in traditional autumn hues or opt for richer shades to embody the essence of fall. Scour online stores, floral shops, and specialty stores to understand the wide range of designs available. Websites like Pinterest and Etsy can provide endless inspiration and even DIY guides.
Traditional Fall Elements in Wreaths
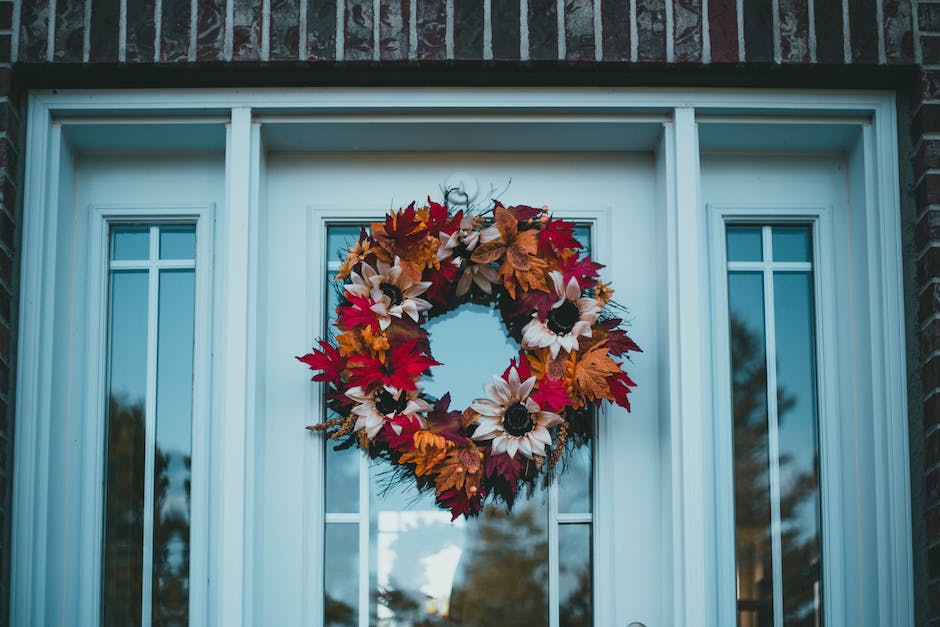
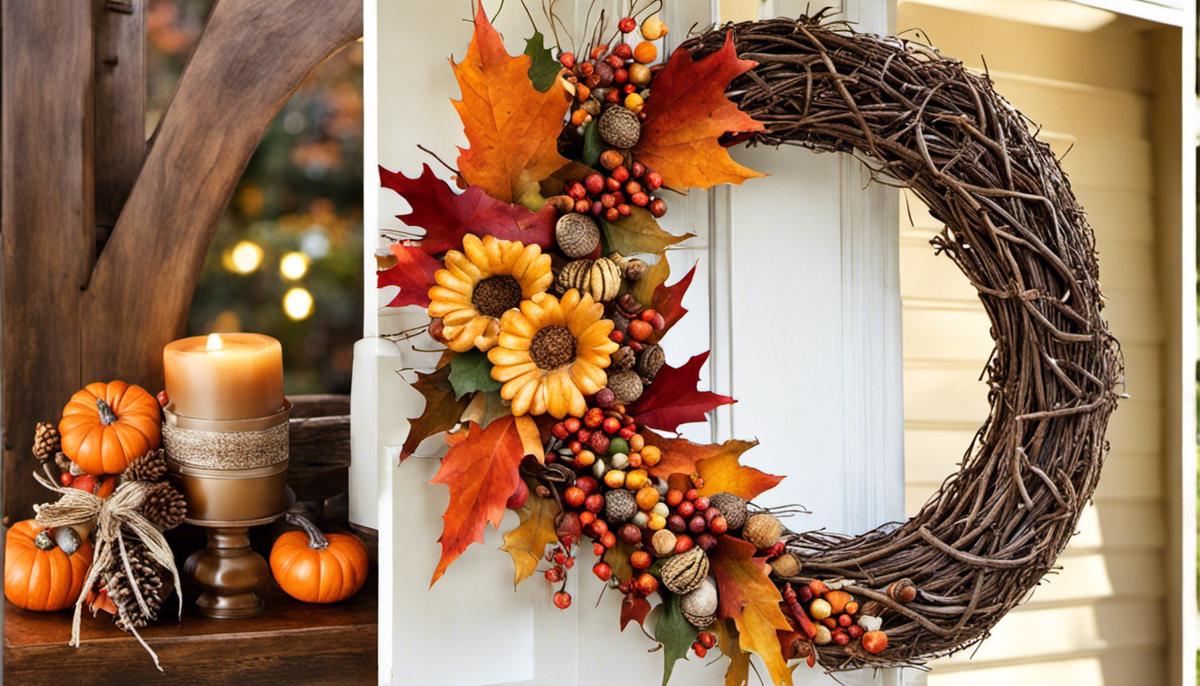
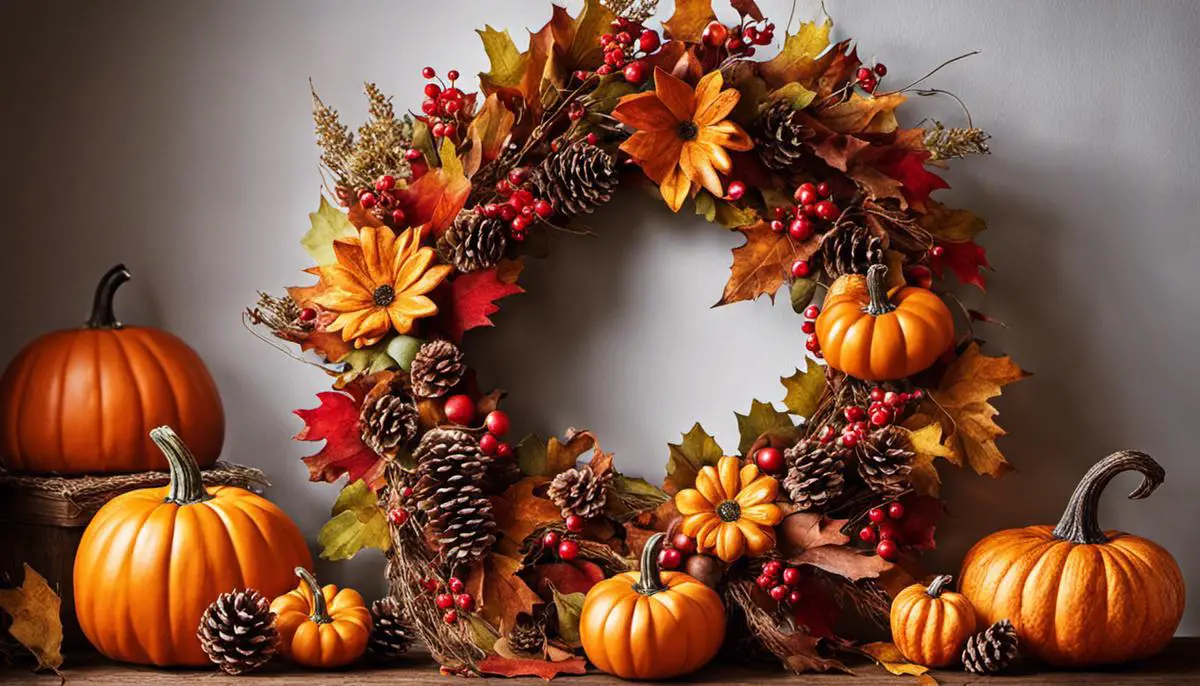
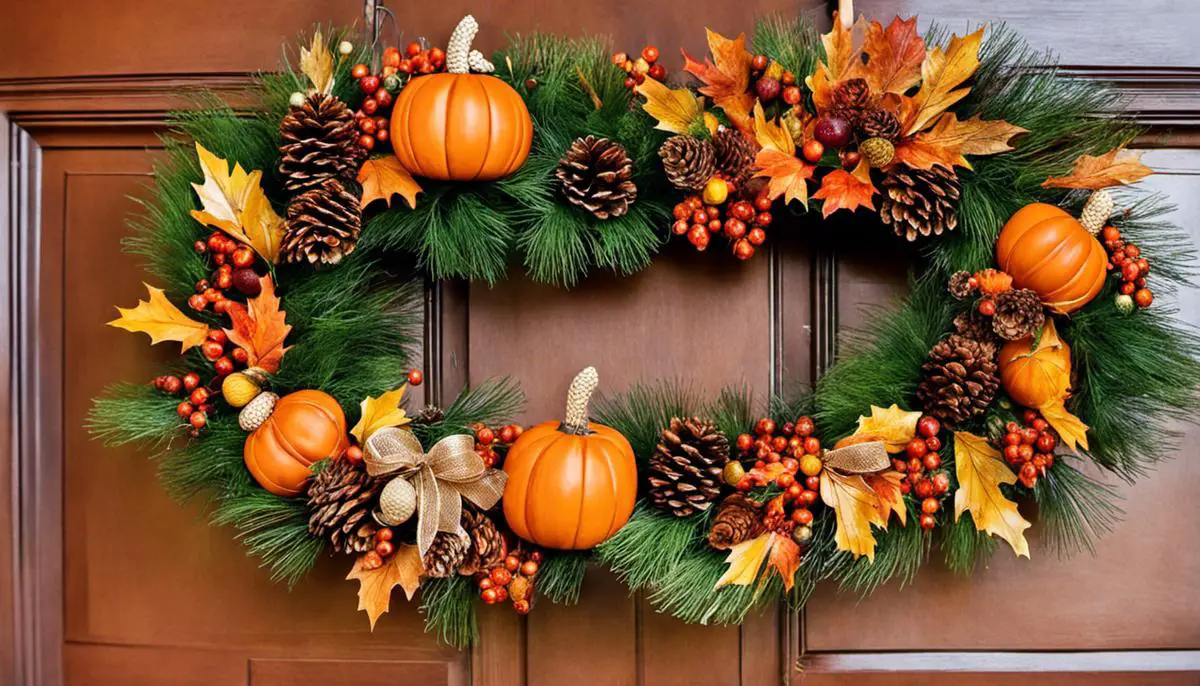
Fall wreaths typically incorporate traditional fall elements to capture the season’s spirit. Natural items like leaves, pumpkins, pine cones, twigs, and berries are common elements. Select leaves with varying colors and shapes for a robust look. Miniature pumpkins or gourds can add a touch of playful charm. Pine cones, either raw or frosted, can embellish the appearance. Stylish additions like ribbons or plaid fabrics may also be included to complement the natural elements.
Inspirations from Existing Designs
To create your unique fall wreath, look towards existing designs for inspiration. Examine how they integrate fall staples, their color choices, as well as the arrangement of materials. Pay attention to how some designs make use of symmetry, while others adopt a more random, natural setting. This exploration will help inform your design and add to the uniqueness of your wreath.
Creating Your Unique Concept
Create a unique wreath by blending your personal taste with the traditional elements of fall. If you love a rustic look, consider using pheasant feathers, birch bark, and layers of dried oranges. For a chic contemporary design, you can combine metallic leaves and gilded pine cones, twirls of ribbon, or even custom-made pieces. A color scheme that matches your home decor or a play on textures like rough pine cones against soft cloth might also work.
It’s all about creating a wreath that embodies the fall season while also representing your distinct style.
A wreath created with intention, creativity, and love will undoubtedly enhance the warmth and welcoming nature of your home during the fall.
Materials and Supplies
Identifying Materials and Supplies for a Fall Wreath
Firstly, you need to collect all the essential materials necessary for creating a fall wreath. One of the primary items you’ll need is a wreath form or frame, which will serve as the base of your wreath. Wreath forms are available in a variety of shapes and sizes, and can typically be found at craft stores, or online marketplaces like Amazon.
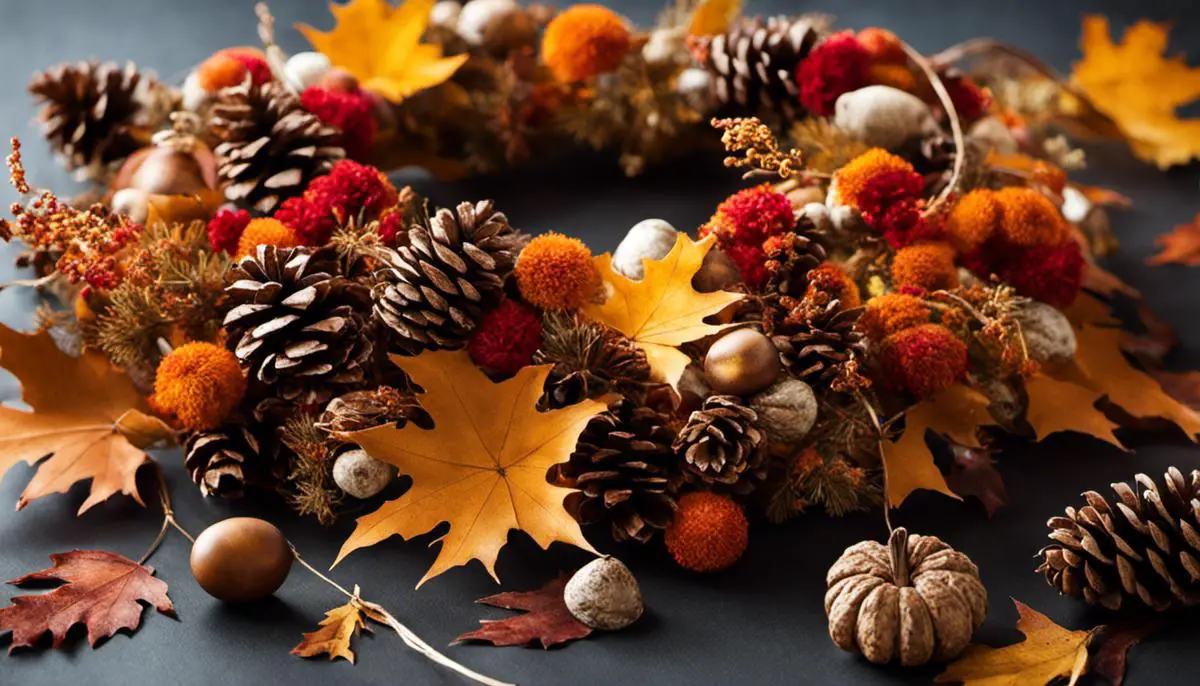
Next on the list are decorative elements. This could include synthetic fall leaves, pine cones, acorns, small pumpkins, or even real foliage if available. The choice of decoration is completely up to personal preference and can be tailored to suit the decor of your home or the season. These items can usually be found at local craft stores, gardening centers, or even your backyard.
A hot glue gun is a crucial tool for this project as it enables you to securely attach the decorative items to your wreath form. Glue guns can be purchased in most hardware or craft stores. Along with the glue gun, you should also consider purchasing extra glue sticks, as you might need more than what’s typically included with the glue gun.
Wire is also a useful supply for a wreath-making project, particularly if you plan to attach heavier items to your wreath form. Floral wire, which is available in craft or garden centers, works well for this purpose.
Lastlly, you might need a pair of scissors to cut the wire and a pair of pliers to manipulate it. These are likely items you already have within your household.
Buying Materials and Discovering Substitutes
While many of the afore-mentioned items can be purchased at local stores or online, you also have the option to use substitutes from items you already have at home. For example, instead of purchasing a wreath form, you could create your own with hardened cardboard or foam. For decorations, consider using natural materials from your backyard like twigs, leaves, or flowers.
Wire coat hangers can take the place of floral wire, and common household items like buttons, fabric scraps, or old holiday ornaments can become unique decorative elements. Even a simple hot glue gun can be replaced by a strong liquid adhesive, or even floral tape for lightweight decorations.
Understanding your needs and resourcefully using available materials can make your wreath making project a success.

Wreath Crafting Technique
Choosing the Materials
To create a fall wreath, you’ll need a wreath form, adhesive (such as hot glue), various decorative elements — think faux autumn leaves, acorns, pine cones, colorful berries, mini pumpkins, faux flowers, ribbons, etc., and a pair of scissors. Ensure to choose a wreath form that is slightly larger than the size of the finished wreath you envision because the decorations will add volume. The decorations should be fall-themed to underscore the season.
Preparation
Before you begin to attach the decorative items, lay your wreath form on a flat surface and arrange your chosen decorations around it. Experiment with several arrangements until you are satisfied with the aesthetic. Keep in mind that fuller wreaths tend to look more professional. Don’t forget to consider how the wreath will look from all angles. Once you have settled on an arrangement, take a photo for reference.
Attaching Decorative Items
Using a hot glue gun, apply a dot of glue on the wreath form and start attaching your decorations according to the image reference. Begin from the base layer — usually, the larger items such as autumn leaves and move towards the top layers which may include acorns, mini pumpkins, or berries. This method maintains the depth and dimension of the wreath.
Adding Additional Elements
To add a touch of creativity to your wreath, consider adding a bow, a string of lights, or even some burlap for a rustic touch. To create a bow, simply loop your fabric of choice until it forms a bow shape, tighten the center with a piece of wire or string. Fluff the loops for a voluminous look. Secure this bow onto your wreath with wire or hot glue.
Securing Your Wreath
To ensure the durability of your wreath, check all the decorative elements and make sure they are firmly attached. Any loose items should be secured with extra glue. If you’ve included heavy items, consider wiring them on for extra security.
Hanging the Wreath
Finally, to hang your wreath, you can attach a loop of ribbon or a metal wreath hanger to the top of the wreath. If your wreath will be exposed to the elements, consider using a sealant spray to protect it. Now your DIY fall wreath is ready to be displayed proudly on your door or inside your home.
Finishing and Displaying Your Wreath
Finishing Your Fall Wreath
To give your wreath a finished look, start by choosing a selection of fall-themed items such as leaves, small pumpkins, acorns, and berries. Real items can give a rustic look, but plastic or fabric versions might last longer and can be reused year after year. Lay all your items out on a table and arrange them on your wreath before attaching securely with floral wire or hot glue. Make sure to evenly space items all the way around, but don’t be afraid to layer items or make some areas denser for a fuller look. Consider using a wide ribbon to hang your wreath or to create a fashionable bow for an additional festive touch.
Displaying Wreaths over Fireplaces
One classic display location for wreaths is over the fireplace. For this display method, you can either use wreath hangers that slide over the top of your fireplace or you can install a nail or hook. Make sure the wreath is large enough to be noticeable but not so large it overwhelms the space. If you’re using a wreath hanger, try adding a bow or some ornamentation to the hanger itself for added visual appeal.
Hanging Wreaths on Front Doors
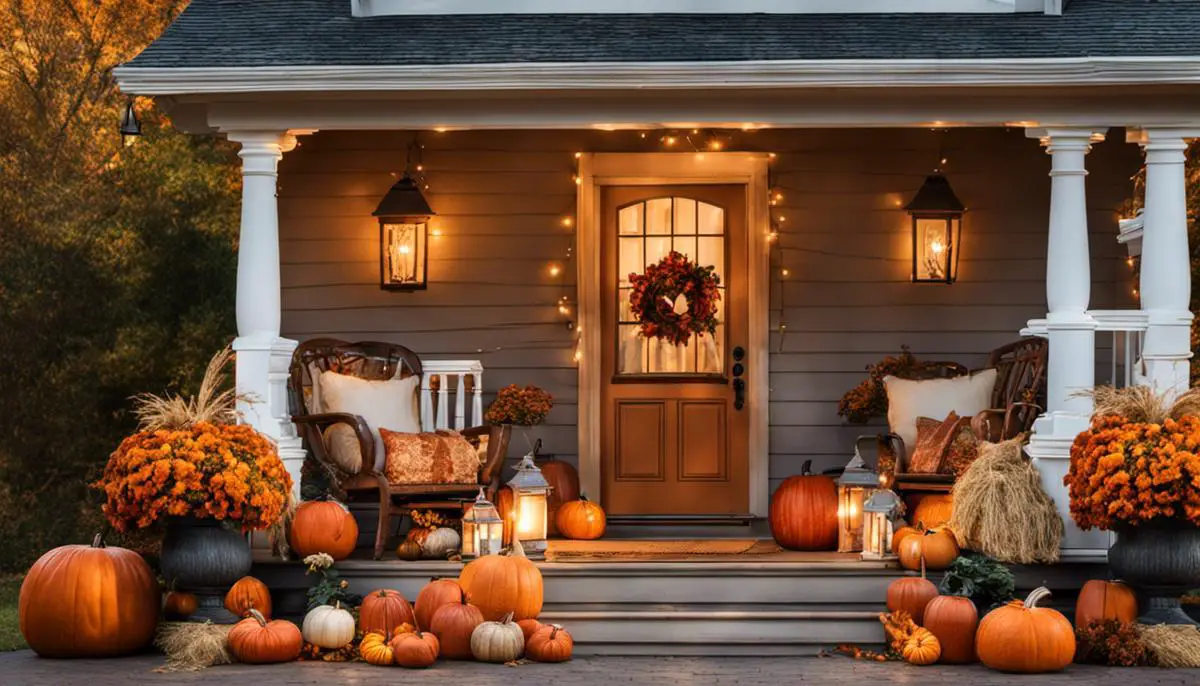
Another popular place to display a fall wreath is on your front door. This can be easily achieved by purchasing an over-the-door wreath hanger. These are typically available in a variety of finishes to match your door hardware. Align the wreath so that it’s at eye level, and not interfering with the operation of the door. If you live in a windy area, consider using some clear fishing line to secure the wreath to the door, avoiding it moving too much.
Using Wreaths as a Table Centerpiece
Finally, a fall wreath can make an excellent centerpiece for a dining or coffee table. Simply place the wreath flat on the table, and consider filling the center of the wreath with candles, a bowl of decorative gourds, or a floral arrangement. Be aware of the size of your table – a large wreath could overwhelm a smaller table, while a petite wreath could look lost on a large dining table.
After fashioning your fall wreath with loving attention to every detail, you’ve reached the gratifying phase of displaying your masterpiece. Be it inviting guests at the doorstep, adding a splash of autumn drama over the fireplace, or creating a rustic centerpiece on the dining table, a wreath effectively captures the essence of the season. Remember, the value of your wreath is not merely in its aesthetic appeal, but also in the joy of creation and the personal expression it embodies. Welcome the season with open arms, let your wreath tell a story of fall that is uniquely yours, and enjoy the rich, warming splendor of autumn in your home.



Leave a Reply